
Been great to finally get my hands on Maya and start my first project. Although I have used it before, it's really nice to refresh myself on the basics. Our first project was to model, texture, render some dice. Here's my results.


I made an extra transparancy map from the colour map texture and mapped it to the transparency channel for some interesting affects. I also animated the dice on some frames moving/rotating and fiddled with the 2D motion blur to make it appear as if the dice have been thrown.
Pen, Magnifying glass and Fan - Week 2
Here's some render passes of my pen. I changed the model slightly by modelling a different nib with a ball point. I tried to use a ramp texture mixed with blue and gold to get the effect of ink around the ball. Not very clear, need to light it better?


I modelled the handle of the magnifying glass slightly different to the tutorial. I tried to emphasise the grip for the thumb.


Had alot of fun with the fan. New tip learnt: drawing a curve with CV curve tool: create a polygon cylinder: select cap faces: shift select curve: extrude and adjust offset. Used to create the protective bars. I animated the blades and the head also.


Here's a playblast of a simple animation. I moved the pivot of the head group to the centre of the stand aswell as animating the blades around their axis. I'm going to batch render this when I get Premire Pro or After effects up and running and cycle the animation.
Lighting - Week 3
1 Point lighting
Alan has given us some scene files to practice different lighting techniques:
Front lighting

Before, default lighting.

After, with planar lighting and a blurred picture of London mapped to the colour channel.
Rear Lighting


Note to self: shift select the rear light and the geometry not to be affected by a light source! Took me 20 minutes to figure that one out!
2 Point Lighting


3 Point Lighting


Stylistic
Default Lighting.

Early Morning.


Mid-day.


Night time.

Sci-fi.

Horror.

Fire cast.

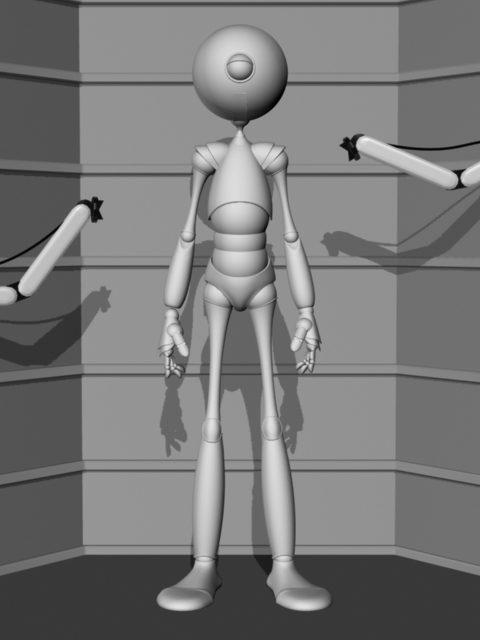
Robot Animation
The first time I have used the script editor to animate! It walks!!
Rocket Animation
LOOK! Up in the sky!!
Common Shaders
Deafult shading:

Ceramic
Plastic

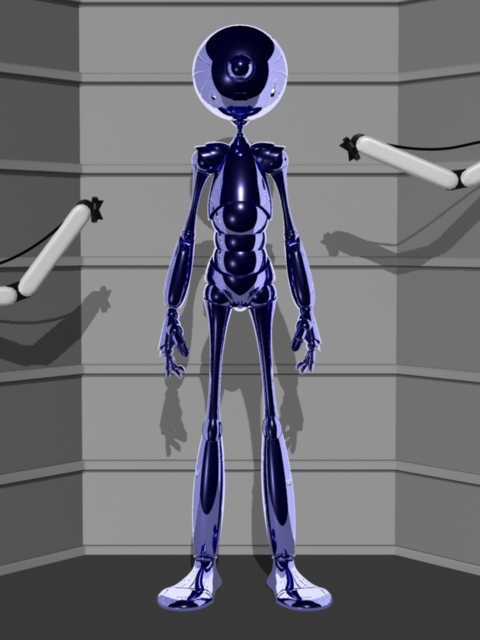
Silver

Chrome
Gold

Glass

Glow

Glow with no material

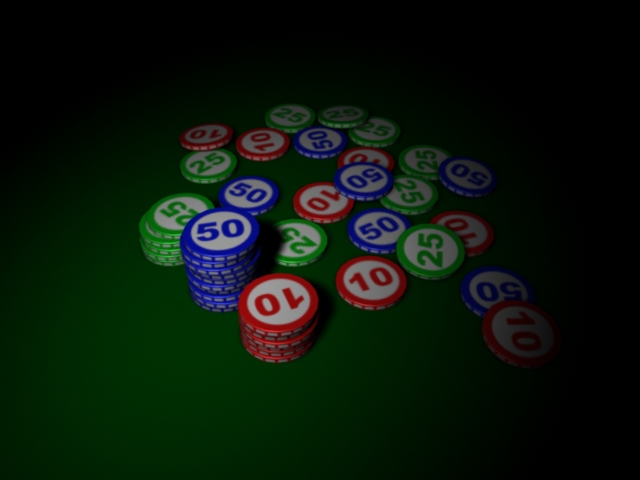
Poker Chips


Whisky Bottle

Detectives Desk


